Tuesday, 29 January 2013

Hotty Totty Mark II

Otherwise known as my iron slipper. 


The actual making of the iron slipper was very similar to MK I but this time I shaped the front and lowered the sides.  It doesn't have a pocket to hold the flex but the strap across the iron holds everything together quite nicely.  I like both covers, I think, but will probably use this one for workshops as it takes up less room in my bag.

I have four irons in all, two steam irons, one I take to classes the other my spare and two craft irons. My initial thought was if you have a steam iron it would be approximately the same size as any other steam iron - wrong they definitely differ in size. Even half an inch makes a difference to the fit.   So whilst I could give you the size of the pieces I used to make this iron it may not fit yours.  This may be one of the reasons why I've never seen them advertised anywhere.  However they aren't difficult to make but you do need to take some measurements first.

The measurements you'll need are:

a)   length of sole plate (this is also the length of the side pieces).

b)   Width of back of iron.

c)   Height - decide how high you want the sides and measure that.  I chose to make mine the same height as the body of the iron but you may want it higher or lower.  

d) Size of sole plate - just put it on a piece of paper and draw round it. If your iron has a "waist" between the widest point of the sole plate and the back of the iron you will need to take out this "waist" by drawing a straight line between the widest point of iron and the back of the iron.

e) Measure the distance between the point of the iron and where you want the top of the sides to be. In my case the top came approximately level with the body of the iron. This made my top edge 2" shorter than the bottom edge of the side piece.

f)   Measure how long a fastening strip you'll need to go across the iron with room to catch the flex in before it is fastened.


The side piece is the trickiest piece to create.

Using your measurements create a pattern for your slipper.  A and C will be the height and width of your sides.   E will give you the starting point of the slope.

 Draw two lines the length of A but the height of C apart.  On the top line make a mark where E is and start your slope from there to the start of the bottom line.  I used a 60 degree angle on this mark and it worked well your iron though may be slightly different than mine.    You should now have a wedge shaped piece for your sides.

Remember these pieces do not have seam allowance so add this as you cut out your pieces.

You will need enough fabric to cut out four sides, two backs, two soles, two straps and bias binding.  Approximately one thin quarter or two fat quarters should be enough.  Plus wadding, approximately one fat quarter.  Line one set of pieces with the wadding and quilt, or not.

Cut two right sides (inner and outer bag) and reverse the pattern for left side, cut two again one inner and one outer bag.

Use B and C measurements to create the pattern for the back of the bag, cut two (one inner one outer).

Use D for the base and F for the strap.  Cut two each.

Hope you can make sense of these if not let me know - have fun.


Thursday, 24 January 2013

Hotty Totty

Have you ever been to a workshop and had to take home an iron that hasn't cooled down?  Well I thought about that when I came across this in dh's shed.   It's left over foiled wall liner .

 I had a 'eureka' moment and set off to make an insulated bag for my iron, I've nicknamed it a hotty totty because it will tote around my hot iron..

I cut off a piece off the roll and placed my iron on top and drew round it.  I then cut out the shape which will become the insulated base in my totty.  

 
I thought this might be a good project to use up some of my left over jelly roll strips. I set too and sewed enough strips to make a fabric big enough to cut out sides, back, pocket  twice and four base pieces, two for the bag and two to hold the insulation which I intended to put in as a loose bottom.  If anyone is intersted it takes about half a meter full width of fabric.  
 
I measured the length and height of my iron to estimate the side of fabric I'd needfor sides, back and pocket.  For the pocket I reduced the height by an inch, this could be lowered.  For the base I drew round the insulation piece with a frixon and used it as a template..

I wanted a pocket in my totty to hold the cord and thought the back would be the best place for it.  This was sewn to the back piece as it would later be sewed into the sides and base when the totty was put together.

 
  I sewed the back to the sides and that the piece was long enough to go round the base. 


I pinned the sides to the base and gently easing it onto the base sewed the pieces together.  I did the same again but this time using the pieces with the wadding on.   Once I'd got two 'bags' made I slid one inside the other right sides together and sewed round the top leaving the back part open so I could turn it inside out.  Turn the bag the right way round and press.  No need to sew up the opening as this is going to be covered with another jelly roll strip which will act as casing for a cord or elastic.


I cut a jelly strip in half and turned under the short end of each side of each piece.   Using a quarter inch seam I sewed this onto the top of the bag, I turned another quarter inch under on the opposite side of the strip and folded the strip in half and sewed it down.  I turned the bag inside out to do this as I found it easier to sew on this way round.

Next step was to make the insulated base for the hotty totty.   Taking the two remaining pieces of fabric and pinning them right sides together I drew round the insulation piece with a frixon pen.  I sewed these two pieces together right sides still together) leaving the bottom back open.   After trimming away the excess fabric I turned the pieces the right way round and pressed it.  The insulation was then inserted into the base sleeve the back seam was sewn up and I top stitched all the way round the base before popping it into my hotty.

I slotted the elastic into the casing and my hotty totty was finished.


Base of Hotty Totty

After I'd made this hotty totty I had another idea for a hotty totty and will have a go at making .  If anyone is interested in a tutorial I'll try and take better pictures.

Sunday, 13 January 2013

Not a good thing

It's not a good thing to backslam your hand into a fridge door, I know it hurts.  It's taken several days but now I can move my fingers reasonably painfree.  Not sure what I hit on the fridge door but I dropped a jar and went to grab it, missed and backslammed my hand into something very hard.  It's much better now and hasn't stopped me sewing too much (although I can't chase dust bunnies very well...).

I've been using some of the various feet I've bought and not used frequently and trying out different stitches on my machine.  I thought I would make a stitch sample fabric and use it on a bookwrap for the QGBI tombola in August.


This is just a small part of the piece.

 
This is the other side of the piece.
 
It's my sister's birthday on Saturday and I've made her a placemat and matching rugmug.  She has a little grey tabby cat whom she loves dearly so I've put Milly on her mats.


My camera battery is flat and I couldn't get the whole thing in the scanner so I'm only showing the mugrug.  Not particularly good fme but Lesley won't mind.  I tried out a different way of binding the mugrug and placemat.  Instead of sewing the binding to the right side and stitching it down on the back.  I sewed it to the back and used one of my fancy stitches to sew it down on the front.  Think I might try this on something bigger but I feel I would have to stabilise the binding before sewing it down.

 
I made this bookcover using a tutorial on the Bernina web site.  It made me use the endless sewing facility on the machine, something I don't use much.  I have thought of making a border on a duvet using it.
 
Well my hand is aching now so its time to stop for the day, speak soon.

Wednesday, 2 January 2013

Happy New Year to all

Did you have a good Christmas?  Flynn did
He loves his bouncer his grandma Mel bought him and his musical teething ring.   He got so  many presents they may need to add a room..

We had a lovely time with Marc and Alix and Alix's family.  Alix did us proud foodwise but she is a lovely cook.  Marc was in trouble for mending his bike beside the christmas tree, naturally it fell and knocked it over but luckily nothing was broken.  Otherwise Marc and the cat would be looking for new owners.   Sy and Julie couldn't join us this year as Sy was 'on-call' over Christmas, nor could he enjoy a celebratory drink for the same reason but its New Year now and he was able to toast in the new year.

Have you made any resolutions, I haven't as they never remain in place longer than the end of February.  But I have made a sort of promise to myself that its okay to create a ufo and finish when the mood takes me.

 have been sewing a bit betwix the celebrations. I've made a set of placemats, table mats and mug rugs using a pattern from Lise Bergene's Patchwork with Pizzazz.  It's a book loaned to me by a friend.  The pattern I used is Guinea Hen.


Sy & Julie gave Keith a 3d puzzle as one of his presents this year.  It's a red plastic apple and he's been tearing his hair out so Sy came round this morning to help.


They managed to get both sides made and put together then realised they'd left the stalk out!!  It is now complete though and Keith won't take it apart to do it again.
I

Tuesday, 18 December 2012

Feeling sad today as we lost a good friend and neighbour on Sunday to a sudden heart attack.  We have known the family for nearly 40 years and as children our sons all played together.  As Isabel is 10 years younger than me and appeared perfectly healthy when we spoke last week its really shaken Keith and I.

Sunday, 16 December 2012

Holiday Swap Postcards

I recently took part in a Holiday swap with the Surface Design group.  It was a small swap of five people and here are the cards I received and sent.

From Pauline in Australia.

From Sonya in the USA
 
From Lesley in Scotland a lovely use for all those inchies.
 
And from Jenny in Cumbria a really fun penquin.
 
As for me I sent variations of these:


.Actually these photos show the cards before I edged them but you get the idea.

Thursday, 13 December 2012

Flynn update

Gosh, Flynn is nearly 6 months now and grown so much.  They came over to see us last week when I had an opportunity to take the odd photo.


I've got two new teeth and still got my 'best man' bib from Gran and Granpa's wedding.

This is what Supergran has made me for Xmas but I'm not supposed to know so I'll pretend I haven't seen them. 

Another day at the office...

We had fun on Monday at our monthly bitch and stitch group.  We had decided last month to bring an extra sandwich or two and share our lunch:


Linda and Elspeth were first to sample the wares.

Then Jenny entertained us all with her singing hat:
It's abit blurred because it started to sing and shake as I tool the photo, or I was laughing so much I shook the camera, you decide which.

Jenny had brough some presents for us and as she couldn't decide which one to give to whom we all put our names in a plastic bag and picked names out of it.

 
Linda chose my name and I 'won' a pretty boxmaking set.  I'm going to have fun making it up after Christmas.  Jenny was very generous and we all got a beautiful present, she also made us each an origami box with chocolates in it.


We were all very impressed with the boxes and wanted to know how she had made them.  Not having any suitable paper with us, after all we were expecting to use our embellishers today, we used the envelopes from our Christmas cards. 


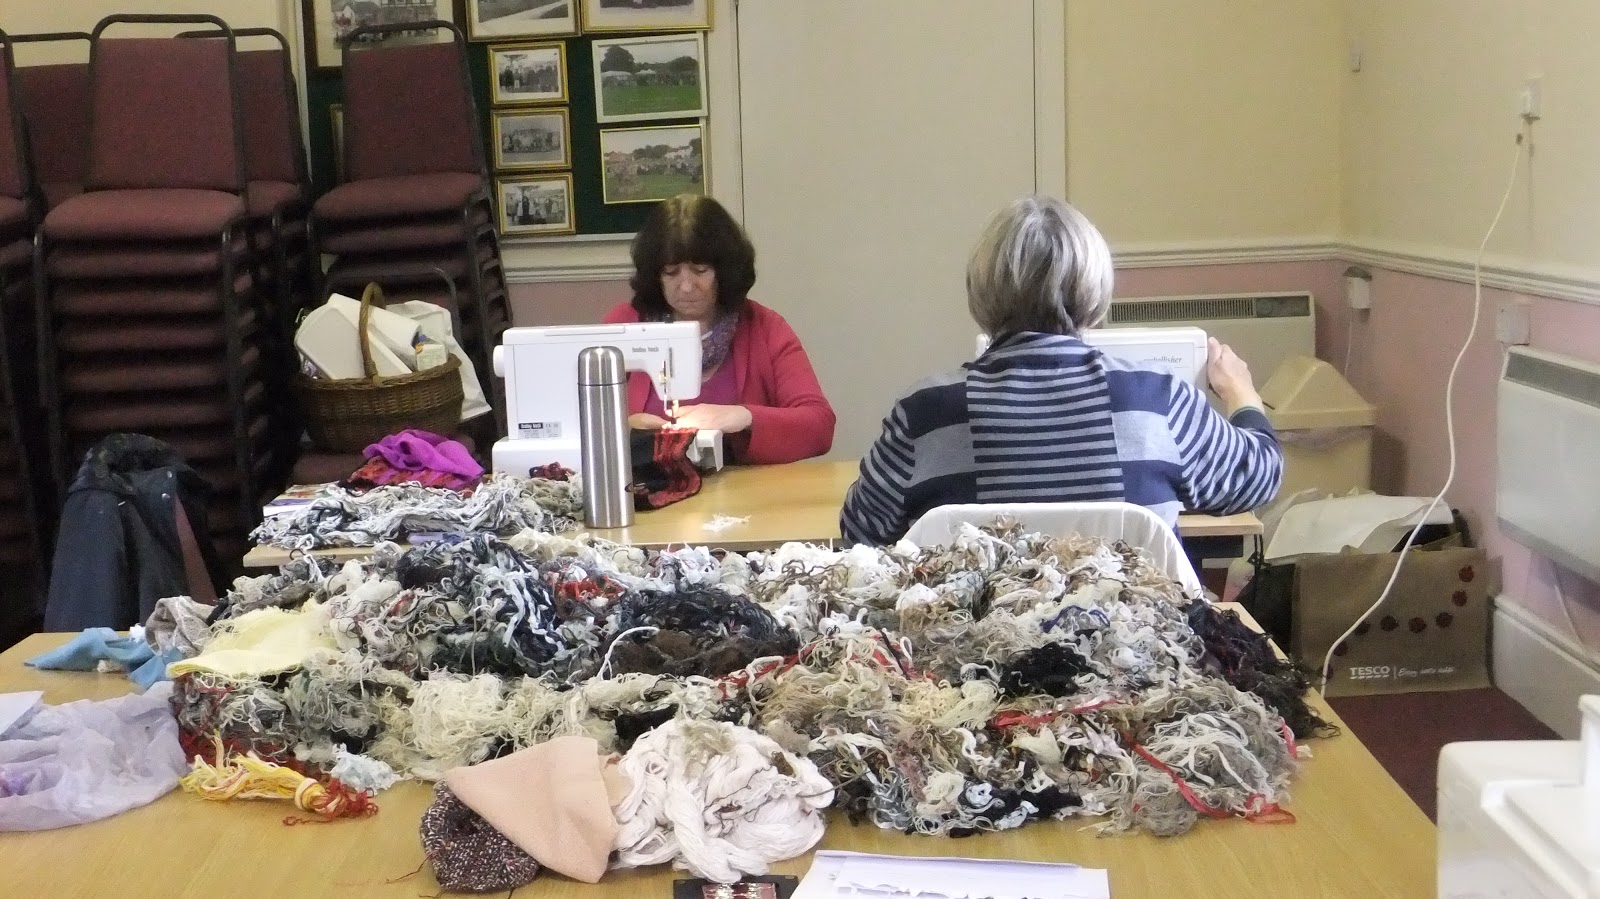
 We did actually do some work before we started our playday.
 
Still trying to make inroads into Jenny's stash.

Jenny is making a bag

Linda is working on the white bits in Jenny's stash don't think she has decided what it is going to be yet.

Pat has used fibres and silks for her piece, still undecided as to what it will eventually be.

Elspeth is bonding two pieces of felt together, one turquoise and one yellow to be used in a future project.   This is what it looked like when she had almost finished.

As for me, well I just made a mess.


Friday, 7 December 2012

Guess who is all of a glitter!!!

Me..... if anyone is wondering how far a very small tube of detail glitter particles will go well so far.
 Covered the whole of my sewing room, spread along the landing, down the stairs, through the kitchen into the dining room and into the living room.  Anyone in close proximity also picked the stuff up, including Buster.   How - I sneezed when opening the tube..... now I guess the vacuum will also be all glittered up.

Thursday, 6 December 2012

It's a wee bit nippy today

Winter seems to have come with a shove, we've waded through the floods, put extra woollies on in the snow and now comes the lazy wind that goes right through you.   We've been unable to take Buster for more than a very brief walk recently as its extremely slippy underfoot.  He has four feet on the ground mine were more in the air so I gave up and went home.

One good event though was our EG Christmas lunch.  For the past few years tutors and students at our local college have provided food and a demonstration of how they produced some of the items.  These demos have gone down really well, as has the eating of their creativity afterwards.  On that day we usually have displays of work done by the young embroideres and this year was no exception.  Christmas Stocks was the order of the day but unfortunately I missed who'd won as I was out of the room at the time.

 We also had a display of some of the work done on a morning workshop run by Carole Wilson who is a very talented and creative member of the EG.   Very festive display of angles, trees, bells a dove and Carole's own tree nympy.
 Closer look of Carole's tree nymph and dove, which is balanced on a cotton reel.
 After the meal we had a flower arrangeing demonstration.  Each member was given a raffle ticket on arrival and these four beautiful arrangements were the prizes.  Sorry about the picture quality.  I forgot my camera and had to take these with my phone and email them to myself.  They lost some of their clarity in transition.
 
I've been busy finishing off the cardigan and sweater I've made for Flynn.   I will post photos next time along with my attempt at making one of Carole's angles.  Carole has sent me the pattern for the dove but so far I've done nothing about it but want to make one before Christmas, watch this space.